 delishing
How to Bake Bakery-Style Chocolate Chip Muffins at Home

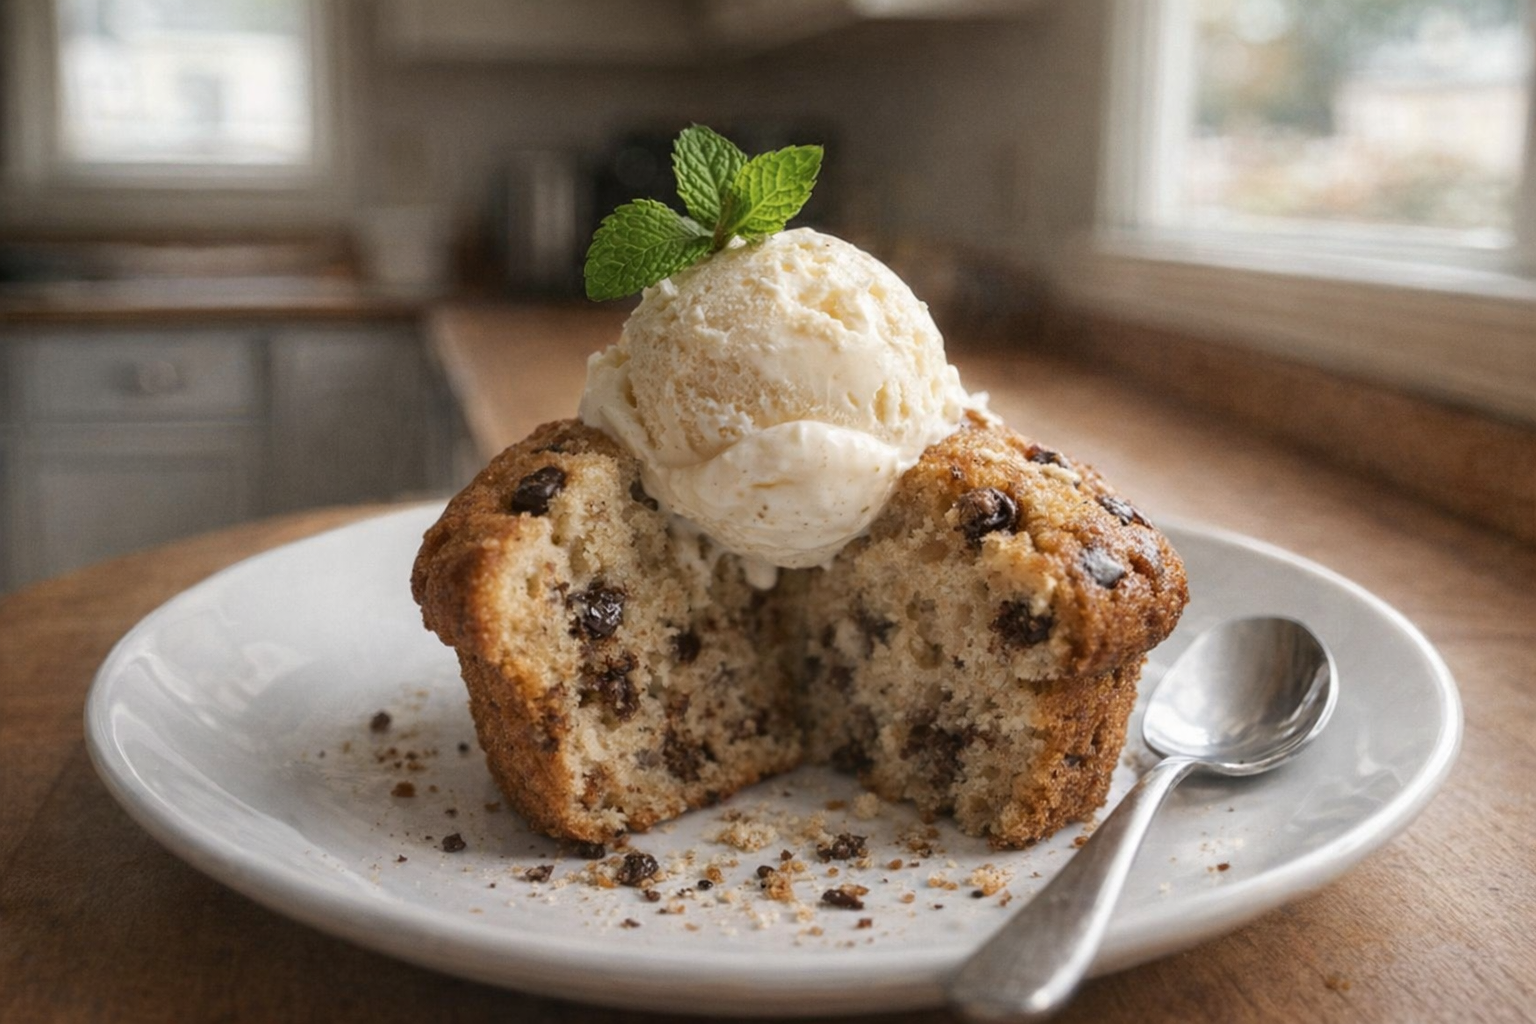
There's something inherently comforting about a chocolate chip muffin, especially one that mimics the slightly crisp top and moist, tender interior of those found in bakeries. This guide will walk you through the process of creating bakery-worthy muffins in your own kitchen, ensuring each bite is a delightful combination of textures and chocolatey goodness. We’ll be using the muffin method, a simple yet effective technique for achieving that perfect crumb.
The key to these muffins lies in understanding a few simple techniques: using a combination of all-purpose and cake flour for a lighter texture, starting with a high oven temperature for that signature domed top, and being careful not to overmix the batter. These small adjustments can elevate your muffins from ordinary to extraordinary.
Understanding Flour for Muffins
The type of flour you use significantly impacts the texture of your muffins. All-purpose flour provides structure, while cake flour, with its lower protein content, contributes to a softer, more tender crumb. For bakery-style muffins, we recommend a blend of the two. Look for unbleached all-purpose flour and cake flour in the baking aisle of your grocery store. Buying quality flour makes a difference.
Why Cook Muffins This Way?
- Versatility: Enjoy them for breakfast, as a snack, or even dessert.
- Flavor: The perfect balance of sweet chocolate chips and a tender, slightly tangy crumb.
- Convenience: Quick to prepare and bake, making them ideal for busy mornings or last-minute gatherings.
Preparation (Mise en Place)
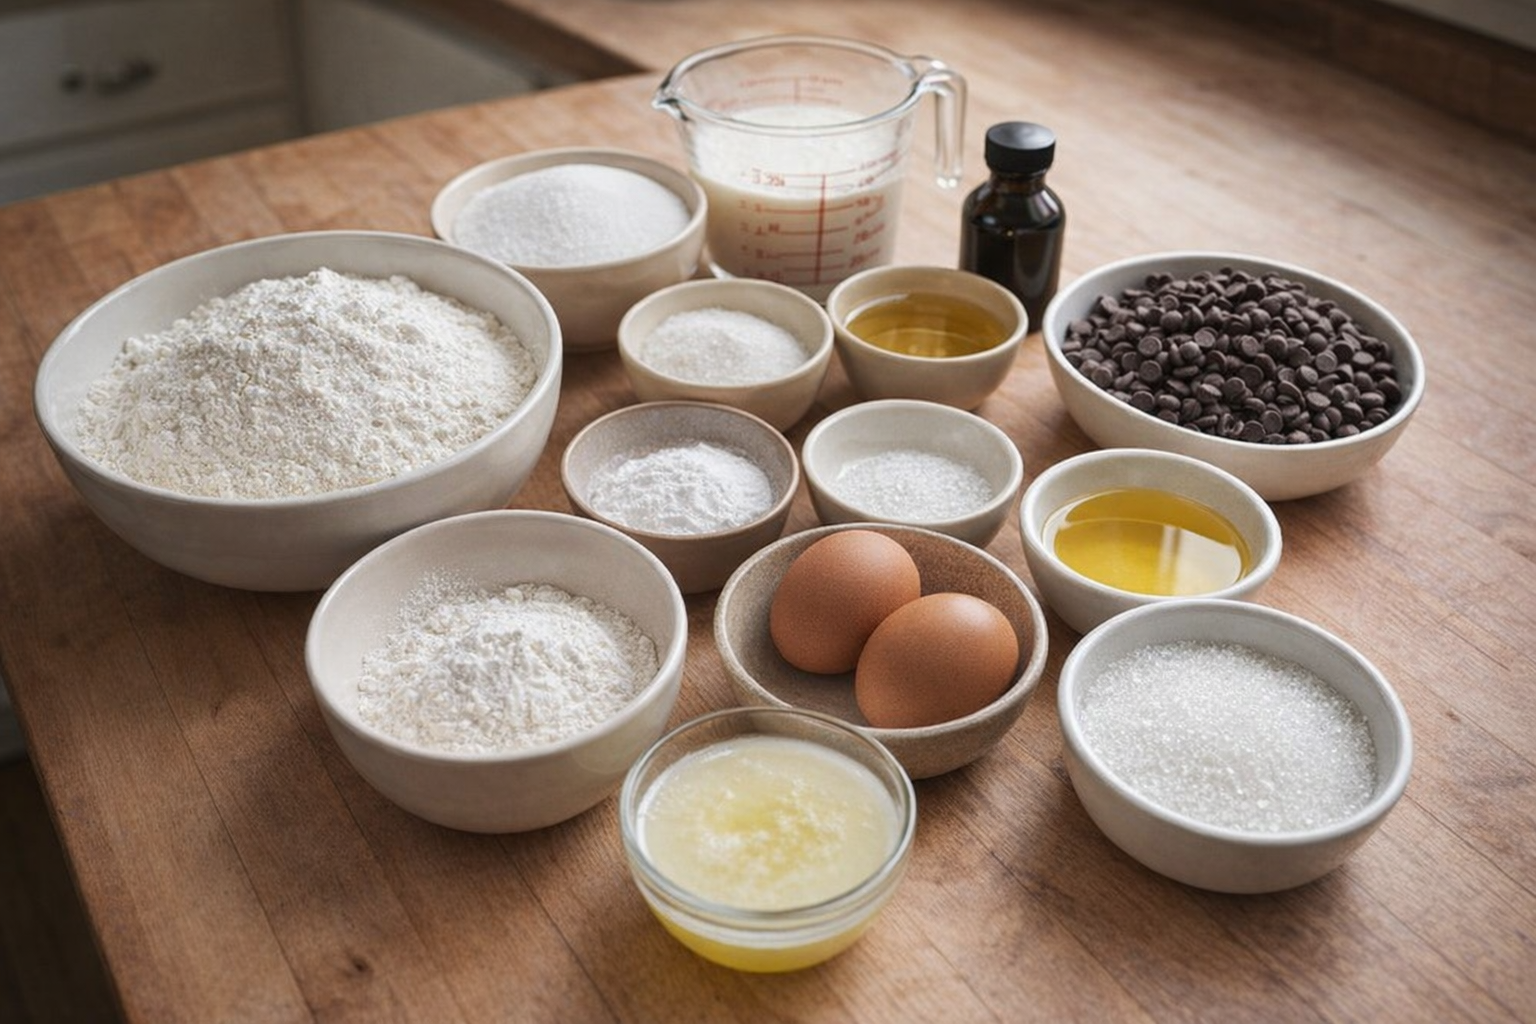
Before you begin, ensure all your ingredients are at room temperature. This helps them emulsify properly, resulting in a smoother batter. Measure out all your ingredients and have them ready to go. This makes the baking process more efficient and enjoyable.
Essential Tools:
- Muffin Tin (standard or jumbo): Provides the shape for your muffins. Jumbo tins will give you that true bakery size.
- Muffin Liners (paper or silicone): Prevent sticking and make for easy cleanup.
- Mixing Bowls (large and medium): For separating wet and dry ingredients.
- Whisk: For combining dry ingredients.
- Rubber Spatula: For gently folding wet and dry ingredients together.
- Ice Cream Scoop or Large Spoon: For evenly distributing batter into muffin cups.
The Cooking Method
We'll be focusing on one primary method for baking these muffins, emphasizing techniques to achieve that coveted bakery-style texture and appearance.
Baking Perfect Chocolate Chip Muffins
Ingredients:
- 2 cups (250g) all-purpose flour
- 1/2 cup (60g) cake flour
- 1 tbsp (12g) baking powder
- 1/4 tsp (1g) baking soda
- 1/2 tsp (3g) kosher salt
- 1/4 cup (60ml) vegetable oil
- 1/4 cup (57g) unsalted butter, melted
- 2/3 cup (135g) packed light brown sugar
- 1 large egg, at room temperature
- 1 cup (240ml) buttermilk, at room temperature
- 1 tsp (5ml) vanilla extract
- 1 cup (170g) semisweet chocolate chips
- 1/2 cup (85g) miniature chocolate chips
- 2 tbsp sparkling sugar (for topping)
Instructions:
- Preheat and Prep: Preheat your oven to 425°F (220°C). Line a muffin tin with paper liners or grease well. The initial high temperature helps with the rise.
- Combine Dry Ingredients: In a large bowl, whisk together all-purpose flour, cake flour, baking powder, baking soda, and salt. Ensure everything is evenly distributed; no one wants a bite of pure baking powder!
- Combine Wet Ingredients: In a separate bowl, whisk together melted butter, vegetable oil, brown sugar, and egg until well combined. The mixture should be smooth and slightly thickened.
- Incorporate Wet into Dry: Gradually add the wet ingredients to the dry ingredients, stirring until just combined. Be careful not to overmix. A few streaks of flour are okay; overmixing leads to tough muffins.
- Fold in Chocolate Chips: Gently fold in the semisweet and miniature chocolate chips. Distribute them evenly throughout the batter.
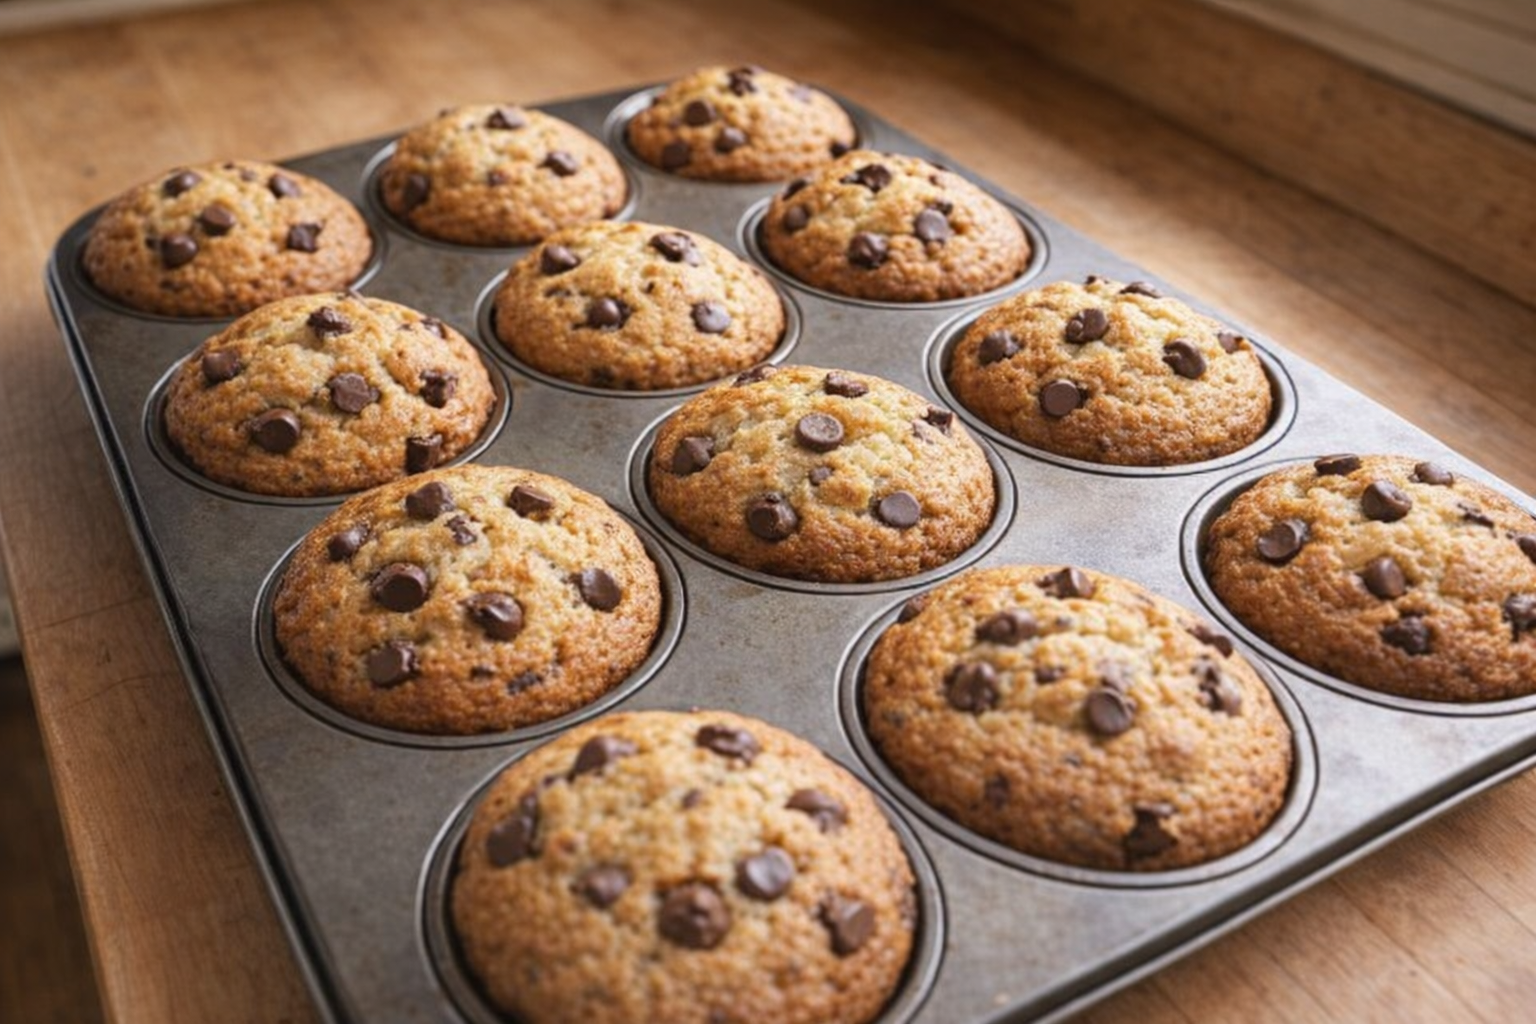
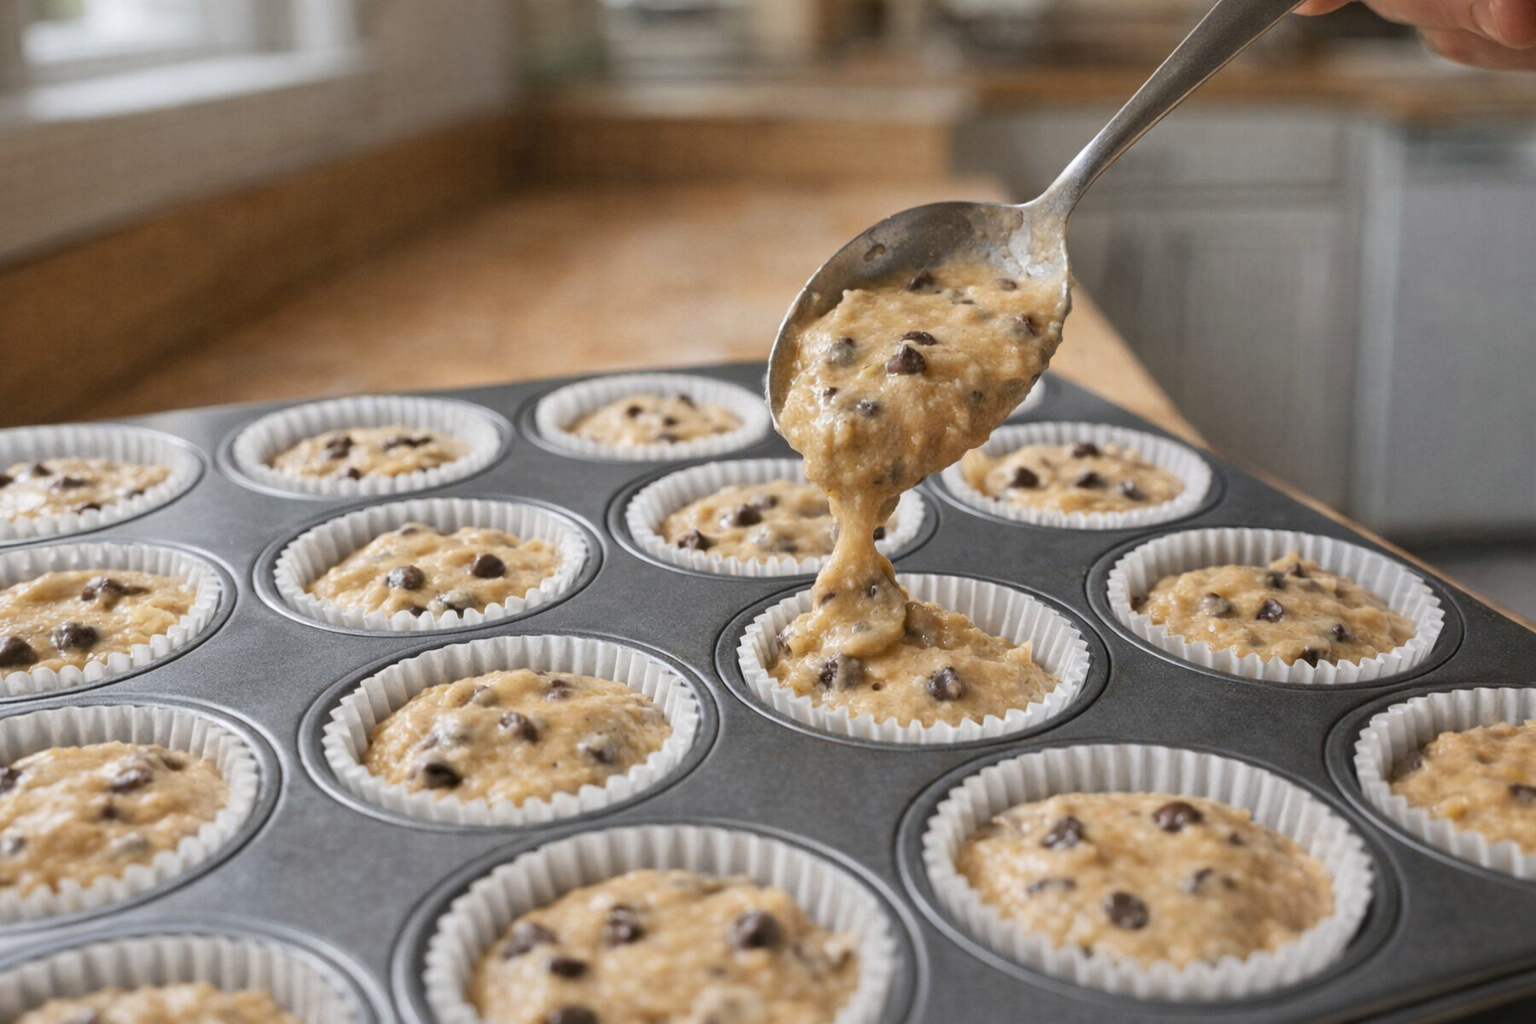
- Fill Muffin Cups: Fill each muffin cup to the very top. This is key to achieving a high, domed muffin top. A heaping scoop of batter per cup should do the trick.
- Add Topping: Sprinkle sparkling sugar evenly over the top of each muffin. This adds a touch of sweetness and a beautiful sparkle.
- Bake: Place the muffin tin in the preheated oven and immediately reduce the temperature to 375°F (190°C). Bake for 18-20 minutes, or until a toothpick inserted into the center comes out clean. The muffins should be golden brown on top with firm edges. You'll smell a rich, sweet aroma filling your kitchen.
- Cool: Let the muffins cool in the tin for a few minutes before transferring them to a wire rack to cool completely. This prevents them from becoming soggy.
Cooking Time & Doneness Guide:
Bake for 18-20 minutes at 375°F (190°C). An internal temperature is not necessary for muffins.
Visual Cues:
- Golden Brown Color: The muffin tops should be a rich, golden brown.
- Spring Back: Gently press the top of a muffin. If it springs back lightly, it's done.
- Clean Toothpick: Insert a toothpick into the center of a muffin. If it comes out clean or with a few moist crumbs, it's ready.
Tips for Perfection:
- Don't Overmix: Overmixing develops gluten, resulting in tough, dense muffins. Mix until just combined.
- Room Temperature Ingredients: Room temperature ingredients emulsify better, creating a smoother batter and a more tender muffin.
- High Initial Temperature: Starting at a high temperature helps the muffins rise quickly, creating a domed top.
- Fill to the Top: Filling the muffin cups completely ensures a bakery-style muffin with a generous crown.
Storage & Reheating:
Store cooled muffins in an airtight container at room temperature for up to 3 days. For longer storage, freeze them individually wrapped in plastic wrap for up to 2 months. To reheat, thaw at room temperature or microwave for a few seconds until warmed through. Avoid refrigerating muffins, as this can dry them out.
Serving Suggestions:
- With Coffee or Tea: A classic pairing for breakfast or an afternoon snack.
- With Vanilla Ice Cream: A simple yet satisfying dessert.
- With a dollop of whipped cream and fresh berries: Elevate your muffin into a sophisticated treat.
- Warm with Butter: Simple and delicious, allowing the muffin's flavors to shine.
💡 Pro Tips
- Use an ice cream scoop to evenly distribute the batter into the muffin cups for uniform baking and appearance.
- Don't skip the sparkling sugar topping! It adds a delightful crunch and visual appeal.
- Gently tap the muffin tin on the counter before baking to release any trapped air bubbles in the batter.
- For a more intense chocolate flavor, try using dark chocolate chips instead of semisweet.
- If you want a taller dome, let the batter rest for 15 minutes before baking. This allows the gluten to relax slightly.
Frequently Asked Questions
While buttermilk adds a lovely tang and tenderness, you can substitute it. To mimic the acidity of buttermilk, add 1 tablespoon of lemon juice or white vinegar to a liquid measuring cup, then fill with regular milk to equal 1 cup. Let it sit for 5 minutes before using.
Sinking muffins are often a result of overmixing the batter or opening the oven door too early during baking. Avoid overmixing by stirring until just combined, and resist the urge to peek until the muffins are nearly done (about 15 minutes).
Yes, these muffins freeze beautifully! Allow them to cool completely, then wrap them individually in plastic wrap and place them in a freezer-safe bag or container. They can be frozen for up to 2 months. Thaw at room temperature or warm briefly in the microwave.
Yes, you can, but the texture will be slightly different. If using all all-purpose flour, substitute the 1/2 cup of cake flour with all-purpose flour. The muffins might be a bit denser, but still delicious.